

See the science behind the glow.
ISpy uses real science to make lice eggs more visible, then treat live lice gently. Here's how the glow works, how to recognise a nit, and exactly how to use your NitKit.
Biofluorescence & photonics
At the heart of ISpy Glo-Powder are two beautiful bits of science: biofluorescence and photonics.
Photonics is the branch of physics that studies light (photons). Biofluorescence is a natural phenomenon where an organism emits light after being exposed to another light source. In the case of nits, the lice eggs contain proteins that can be excited by UV light to give out some visible light of their own.
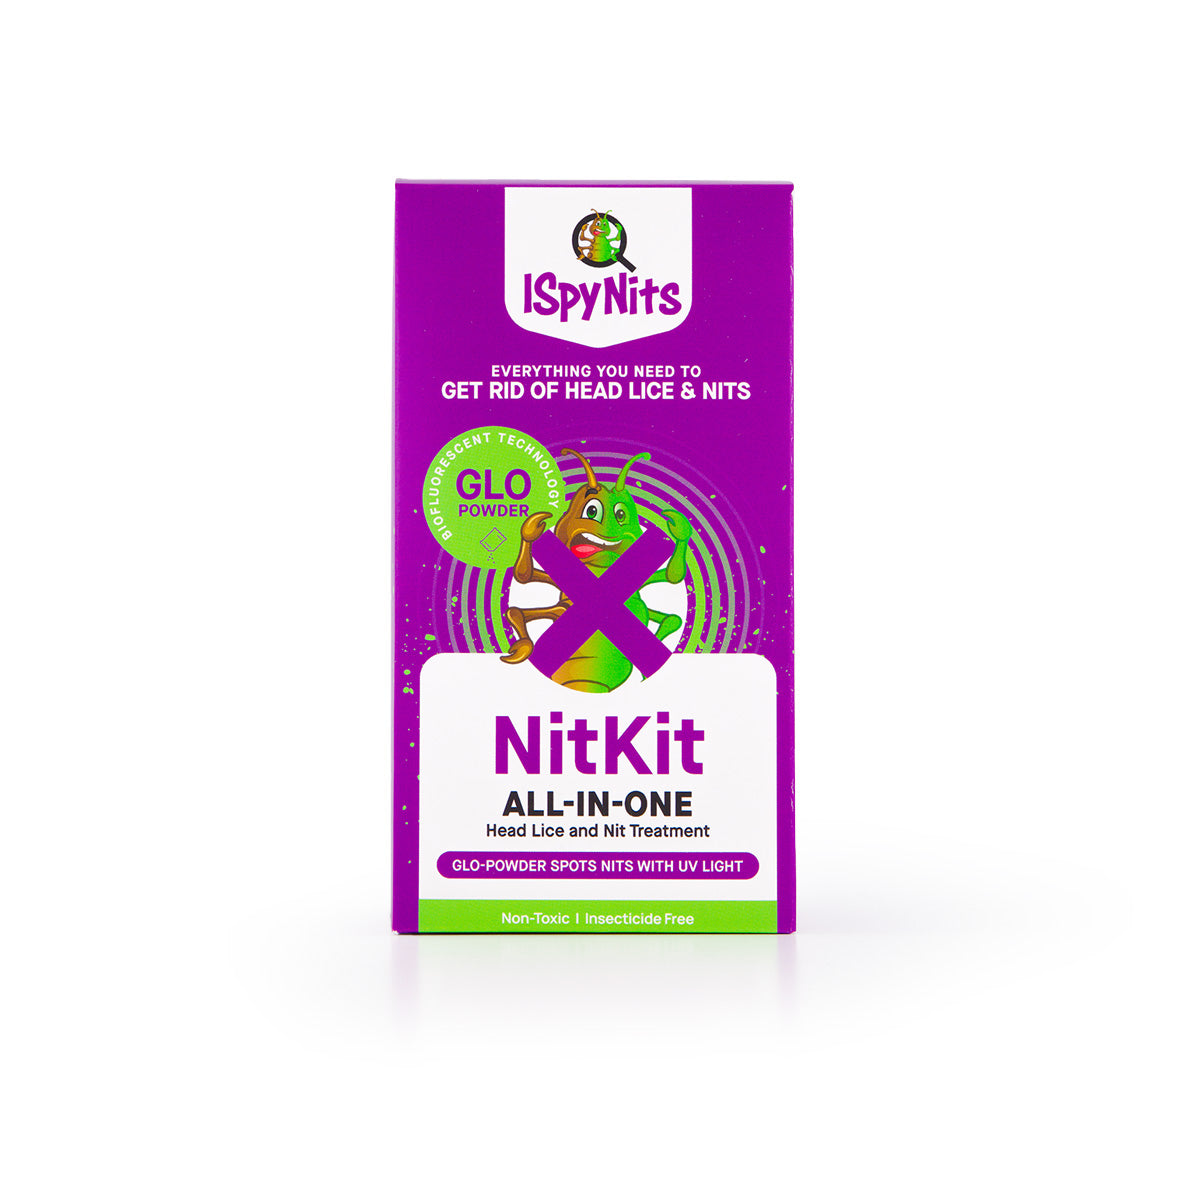
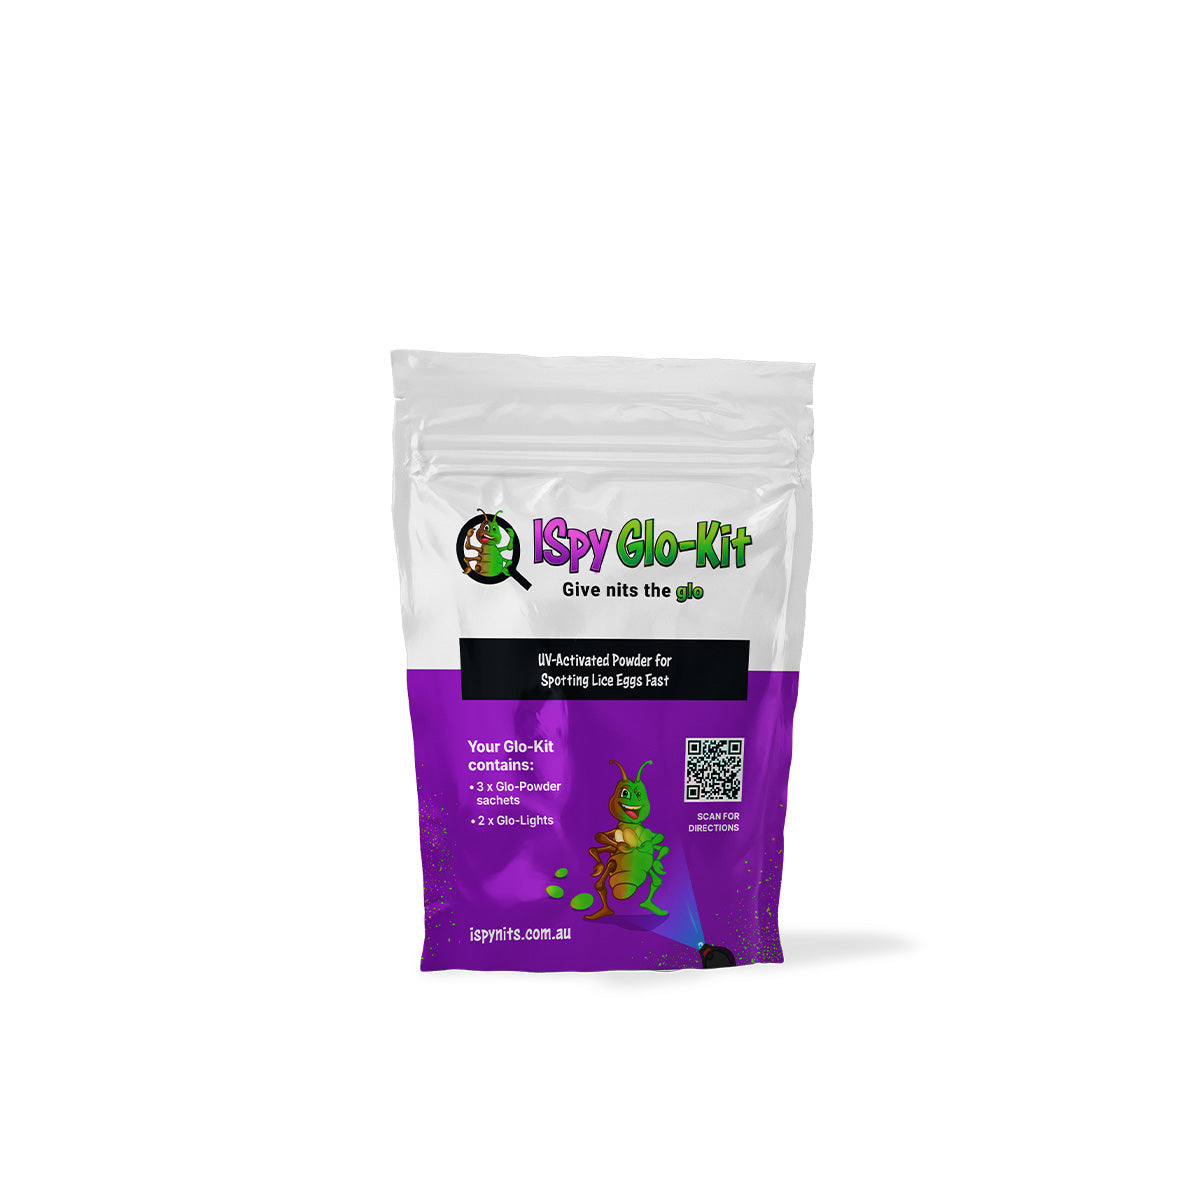
ISpy Glo-Powder binds to the egg sheath to intensify that effect. Because UV light has a shorter wavelength than visible light, when it interacts with those proteins and the powder it excites them to emit light your eye can actually see. The eggs show up as glowing dots, so you know what you're looking at.
We see nits as a great opportunity to teach kids about the science of photonics and biofluorescence, and at the same time to break down the social stigma that comes with them. Knowledge is power when it comes to reducing stigma and understanding best practice.
How to recognise a nit
Identifying nits (the eggs of lice) is a crucial step in managing head lice. The easiest way to spot them is to give them the glow.
Tiny, oval and firmly stuck
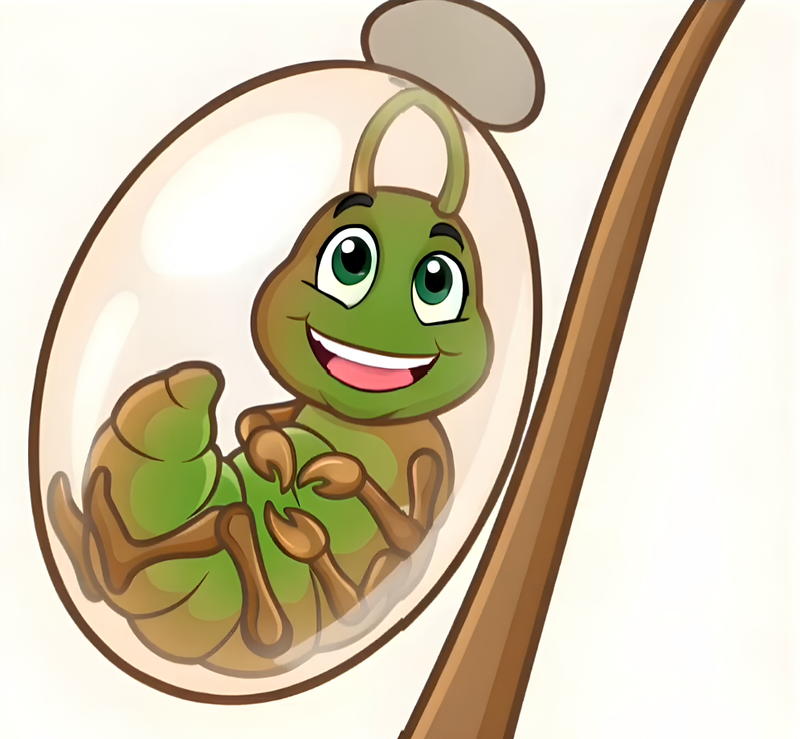
Nits are typically oval-shaped and vary in colour from white to yellowish-brown. They're firmly attached to the hair shaft, usually close to the scalp, which makes them hard to remove. The average nit is around 0.8 mm long, about the size of a pinhead.
The brush-off test
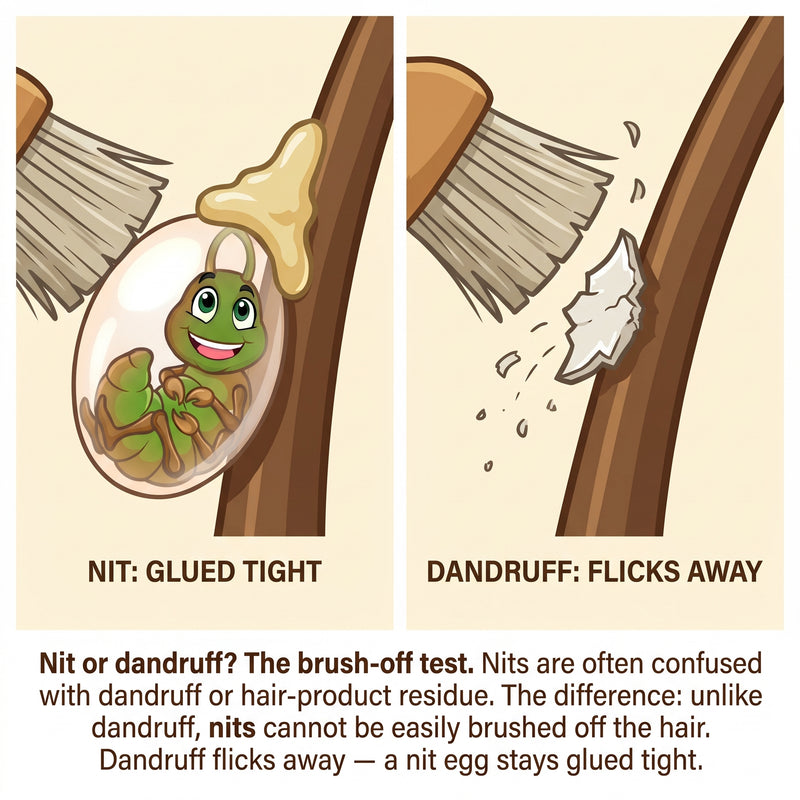
Nits are often confused with dandruff or hair-product residue. The difference: unlike dandruff, nits cannot be easily brushed off the hair. Dandruff flicks away. A nit egg stays glued tight. If it glows and won't brush away, it's an egg.
Section, and start at the nape
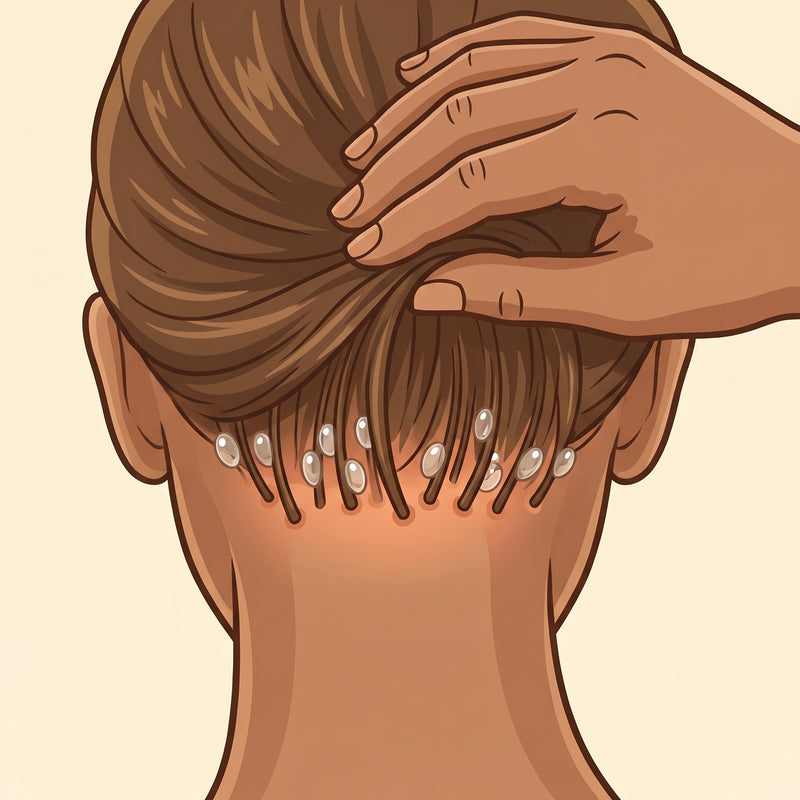
Section the hair into small parts so you can examine each area thoroughly. Start from the nape of the neck and work towards the front. This is where lice tend to lay their eggs, along with behind the ears and around the crown, where it's warm.
The full routine, step by step
Seen live lice? Start at Step 1. Only suspect eggs? Skip to Step 3. Take your time. Dim lighting works best, and completely dry hair makes the powder glow.
-
1
Live lice? Treat first
Apply ISpy Lice Lotion to the hair and leave it for at least 20 minutes (or all day) to treat live lice. Section the hair, and spray from the scalp outwards (like touching up roots), coating strands fully and focusing behind the ears, the crown and the nape where lice like to stay warm.
-
2
Wash & fully dry
Wash the hair with normal shampoo to remove any lotion residue, then dry completely. A hair dryer is ideal. The hair must be completely dry so the powder doesn't clump and the glow works properly. While drying, remove any dead nits and debris you can.
-
3
Set up to spot
Dim the room for the best effect (avoid bright natural light like direct sun). To keep mess down, avoid carpet, put down a towel and wear an old T-shirt.
-
4
Apply the Glo-Powder
Load the applicator brush lightly, tap off the excess and dust an even, thin coat over sectioned hair, focusing on the first 10 mm of hair and the hotspots. Avoid clumps. An even, light coat is the key to a clear result. As a rule of thumb, a check uses about a third of the bag (extra-long or thick hair may need more).
-
5
Brush out the excess
Brush and comb back through to clear away the loose powder, dandruff and scalp debris. This is the trick to a clean read: the excess falls away, but the powder bound to the lice eggs stays behind. Under UV, the eggs show up as glowing dots, not a haze of stray powder.
-
6
Shine the UV light & hunt the glow
Run the UV light over the head in sections and hunt for the glowing dots. If it glows and won't brush away, it's an egg. Most viable eggs (the ones likely to hatch) sit within 10 mm of the scalp, so focus there, especially the crown, nape and behind the ears.
-
7
Nitpick
When you spot an egg, pinch the hair strand between thumb and forefinger and run your nails down the strand to remove it (remember: dandruff brushes away easily, nit eggs stick tight). Focus on eggs close to the scalp. No gloves needed unless you have sensitive skin. Just wash your hands before and after. A second pair of hands (one on the light, one picking) makes it faster.
-
8
Make it fun
Give the spare UV light and any leftover Glo-Powder to your child to use with the included Glo-Tattoo stencils. Make a Neon Nora or invent your own. Film it and share to Facebook or Instagram so others can learn and see your creations.
Lice Removal Network certified
TGA & FDA registered
University-backed
Mum-founded in NZ
Ready to see what you've been missing?
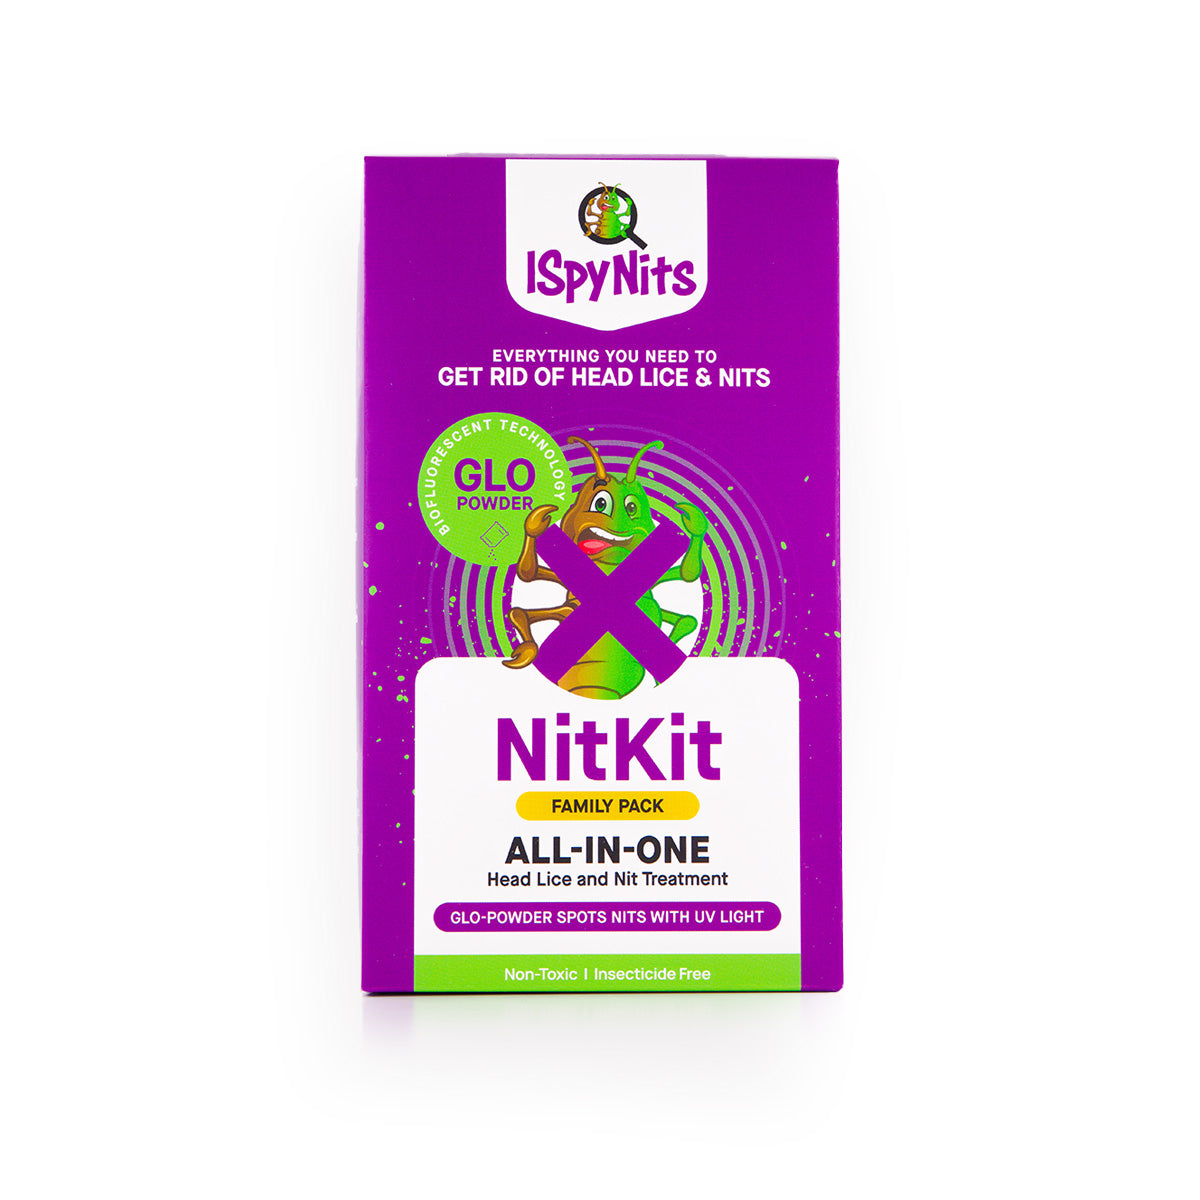
Grab the all-in-one NitKit and turn your next check into a hunt for the glowing dots.
Shop the NitKit →