


See them first. Then beat them.
Lice hide. Eggs hide better. ISpyNits flips the whole battle around: make the hidden ones glow under UV light, treat exactly where they are, then recheck to be sure. Smarter than guessing — and a lot less stressful.
Glow. Treat. Relax.
The same simple routine the whole family can follow — here's exactly what happens at each step, and why it works.
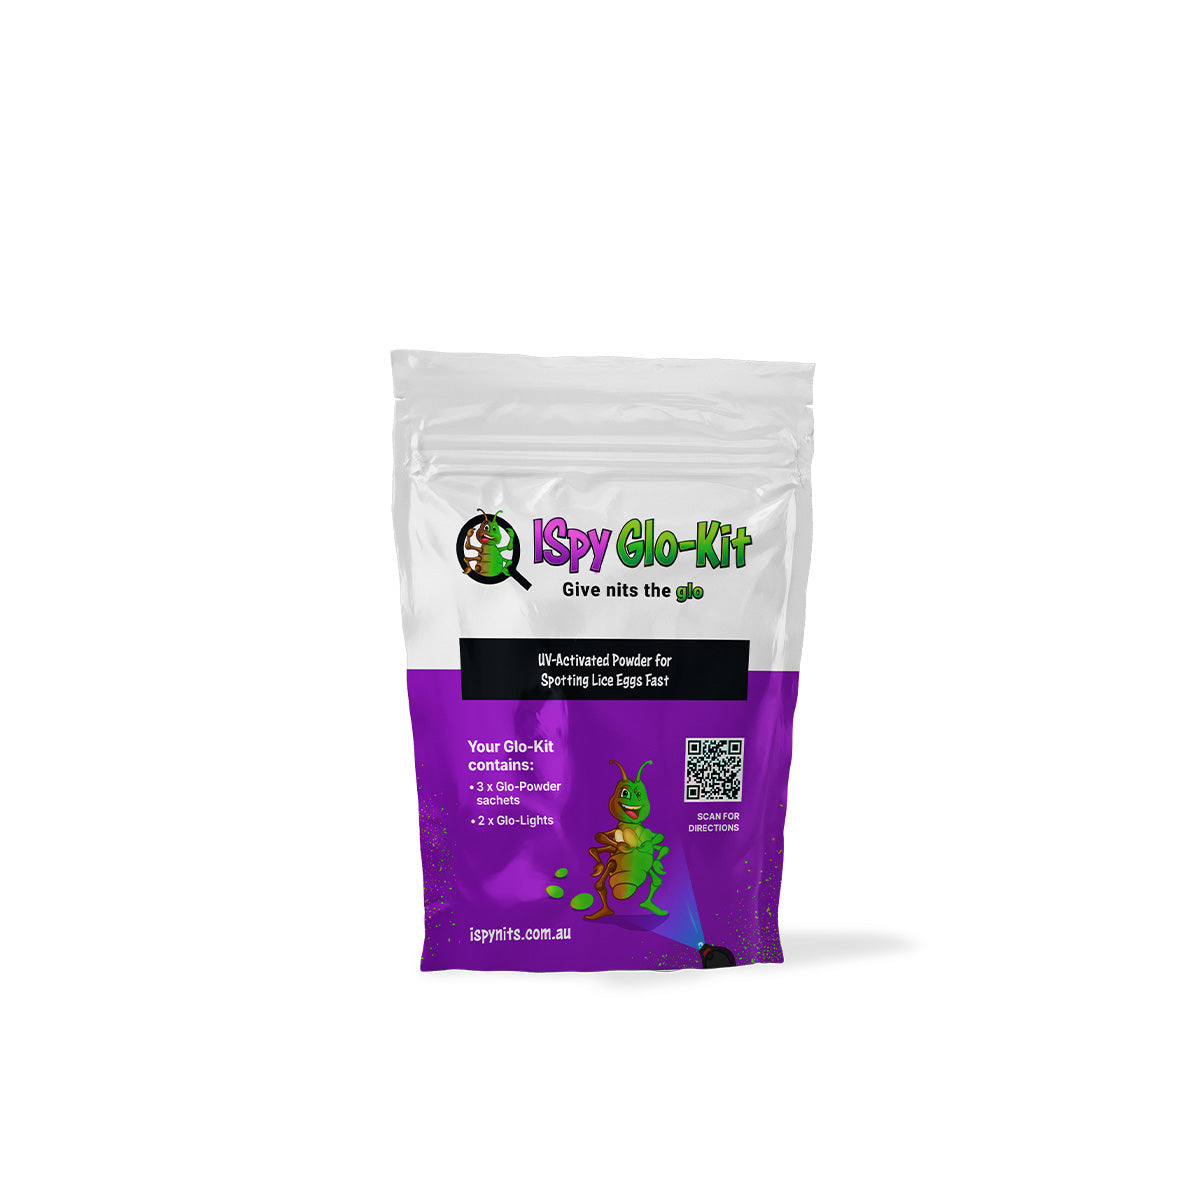
Glow & Spot
Dust a light, even coat of Glo-Powder over dry hair and work it through. Now the important part: brush and comb the excess back out — loose powder, dandruff and scalp debris all fall away, but the powder bound to the nit eggs stays put. Switch on the UV light in a dimmed room and those eggs light up bright green, clean and clear — so you can see exactly how many there are and precisely where they're clinging to the hair shaft.
Treat & Remove
Now that you can see them, treat. Spray the fragrance-free Lice Lotion through the hair — it treats live lice — then comb it through section by section with a fine-tooth comb to lift out the eggs. It's insecticide-free and gentle on little scalps, with no sting and no harsh fumes, so you can leave it in to keep working or rinse out after 20 minutes.
Recheck & Relax
A few days later, glow again. Because lice eggs hatch on a cycle, a quick re-scan catches any stragglers before they can take hold — so you treat once, confirm it worked, and stop a small problem becoming a recurring one.
Why UV detection works
Head-lice eggs are tiny, pale and glued tight to the hair shaft, which is exactly why they're so easy to miss in ordinary light — they blend in with hair and can look just like flakes of dandruff. The traditional approach is to treat blindly and hope, then wonder a week later whether it actually worked.
ISpyNits adds the step everyone skips: seeing them first. The Glo-Powder settles onto hair and clings to eggs and nits, and under UV (black) light it fluoresces — re-emitting that energy as a bright green glow your eye can pick out instantly.
- You catch what the eye misses. Faint, early-stage eggs light up clearly instead of being overlooked.
- You treat where it counts. Knowing exactly where the eggs are means a thorough, targeted comb-through — not guesswork.
- You can confirm it's done. A second glow tells you whether you got them all.
Gentle by design, for little heads
We built ISpyNits for the most sensitive scalps in the house — so the whole family can use it with confidence.
- No harsh chemical pesticides — formulated to be safe around children when used as directed.
- Treats live lice without the insecticides that older treatments rely on — and that lice increasingly resist.
- No added perfume and no chemical reek — nothing to sting eyes or overwhelm sensitive noses.
Always read the label and follow the directions for use. For external use on hair and scalp only.
Lice Removal Network certified
TGA & FDA registered
University-backed
Mum-founded in NZ
The full routine, step by step
Seen live lice? Start at Step 1. Only suspect eggs? Skip to Step 3. Take your time — dim lighting works best, and completely dry hair makes the powder glow.
-
1
Live lice? Treat first
Apply ISpy Lice Lotion to the hair and leave it for 20 minutes to treat live lice. Pop a towel around the neck to catch any excess — the lotion is oil-based, so it's thinner than shampoo. Twist the tube open, section the hair, and apply from the scalp outwards (like touching up roots), coating strands fully and focusing behind the ears, the crown and the nape where lice like to stay warm.
-
2
Wash & fully dry
Wash the hair with normal shampoo to remove any lotion residue, then dry completely — a hair dryer is ideal. The hair must be completely dry so the powder doesn't clump and the glow works properly. While drying, remove any dead nits and debris you can.
-
3
Set up to spot
Dim the room for the best effect (avoid bright natural light like direct sun). To keep mess down, avoid carpet, put down a towel and wear an old T-shirt.
-
4
Apply the Glo-Powder
Load the applicator brush lightly, tap off the excess and dust an even, thin coat over sectioned hair, focusing on the hotspots. Avoid clumps — an even, light coat is the key to a clear result. As a rule of thumb, a check uses about a third of the bag (extra-long or thick hair may need more).
-
5
Brush out the excess
Brush and comb back through to clear away the loose powder, dandruff and scalp debris. This is the trick to a clean read: the excess falls away, but the powder bound to the lice eggs stays behind — so under UV only the eggs glow, not a haze of stray powder.
-
6
Shine the UV light & spot
Run the UV light over the head in sections. Nit eggs glow bright green. Most viable eggs — the ones likely to hatch — sit within 10 mm of the scalp, so focus there, especially the crown, nape and behind the ears.
-
7
Nitpick
When you spot an egg, pinch the hair strand between thumb and forefinger and run your nails down the strand to remove it (remember: dandruff brushes away easily, nit eggs stick tight). Focus on eggs close to the scalp. No gloves needed unless you have sensitive skin — just wash your hands before and after. A second pair of hands (one on the light, one picking) makes it faster.
-
8
Make it fun
Give the spare UV light and any leftover Glo-Powder to your child to use with the included Glo-Tattoo stencils — make a Neon Nora or invent your own. Film it and share to Facebook or Instagram so others can learn and see your creations.
Questions, answered
Is it safe for kids?
Yes — ISpyNits was created by a mum specifically for children. It's gentle, insecticide-free and fragrance-free, with no sting, so it's gentle on sensitive little scalps. As with any hair product, use it on hair and scalp only and follow the directions on the label.
How is this different from normal lice treatment?
Most treatments skip straight to treating and leave you guessing whether it worked. ISpyNits adds the detection step first: the UV Glo-Powder makes hidden eggs glow bright green so you can actually see them, treat exactly where they are, and confirm with a recheck. It's also insecticide-free, which matters as lice increasingly resist older insecticide-based products.
Will the Glo-Powder wash out?
Yes — easily. It's designed to brush and rinse out cleanly with normal shampooing. It doesn't stain hair or skin and leaves no residue once washed.
Ready to spot them first?
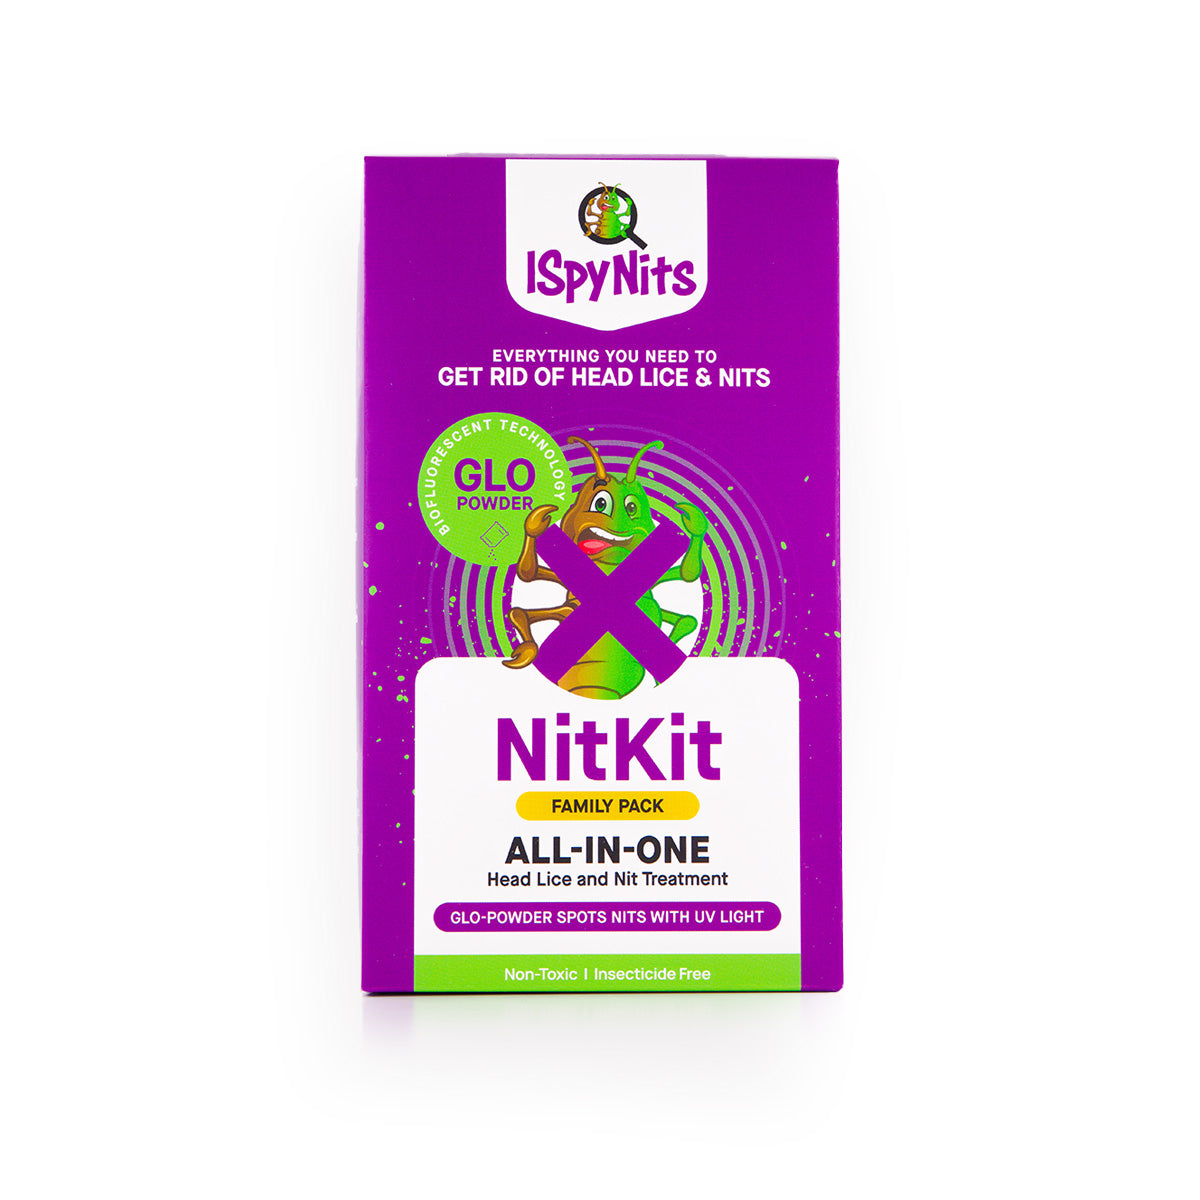
Skip the guesswork — grab the all-in-one NitKit and start glowing tonight, or find ISpyNits at a pharmacy near you.
Shop the NitKit